Hi guys,
My last post showed how I paint a portrait from one spot INSIDE the face and then gradually spread out to complete the whole piece little by little.
But the process today is called, “OUTSIDE-IN” where I block in all the major shapes from the beginning and then finish up on the inside of the face with details.
You can compare both techniques and see which one suits you best.
Also my workshop is tomorrow! The day I’ll be sharing all I know about painting the portrait from life! So if you happen to be in London or nearby and you really want to improve your portrait painting skills, click HERE or click on the link
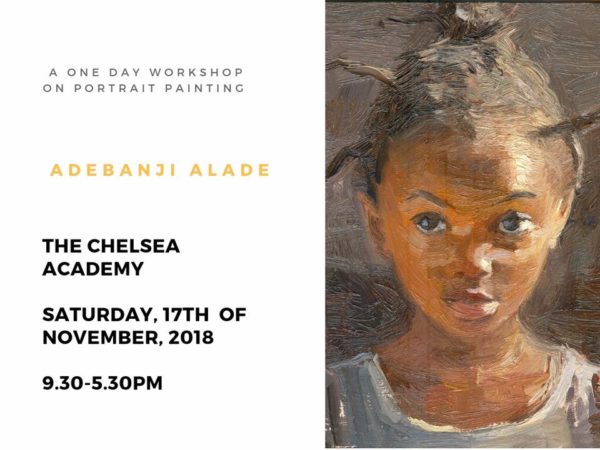
ADEBANJI ALADE’S PORTRAIT PAINTING WORKSHOP AT THE CHELSEA ACADEMY ON THE 17TH OF NOVEMBER 2018
These are the stages for the “OUTSIDE-IN” portrait of Queen Amina, it was painted on a small 7″x 5″ Winsor and Newton Canvas Board. As part of my Deliberate Portrait Practice Challenge. Hope you enjoy!

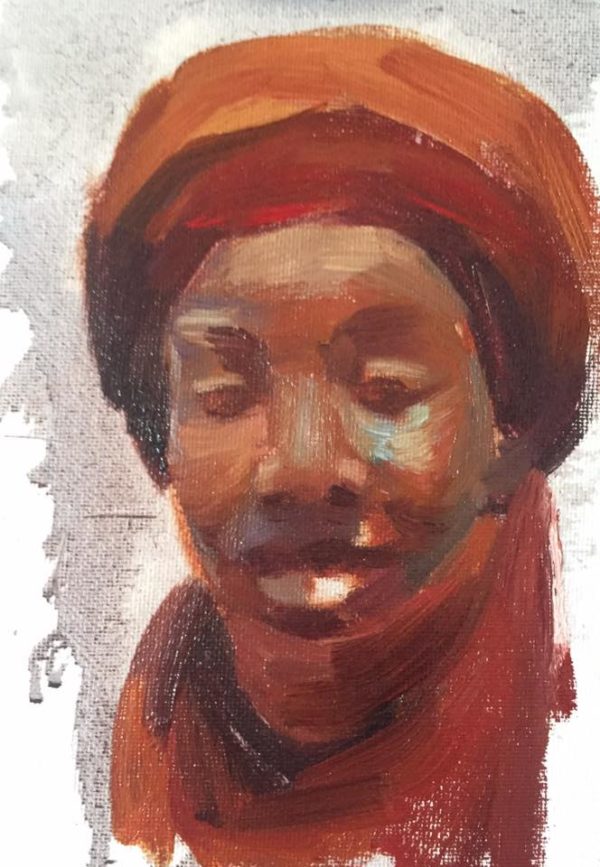
1. The first challenge is to get the overall shape of her head. Just a few calculated marks to make sure I have her head positioned in the right place on the surface and making sure it’s proportional.
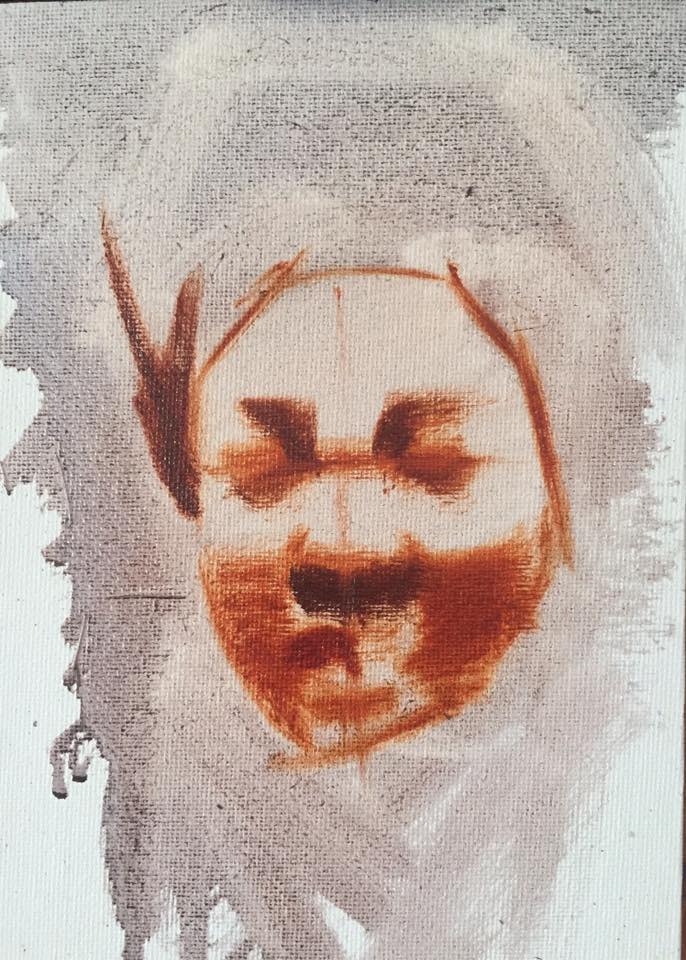
2. My main goal here is to get the major features positioned on the head. A lot of measuring abs making sure the eyes, nose and mouth are in the right place.
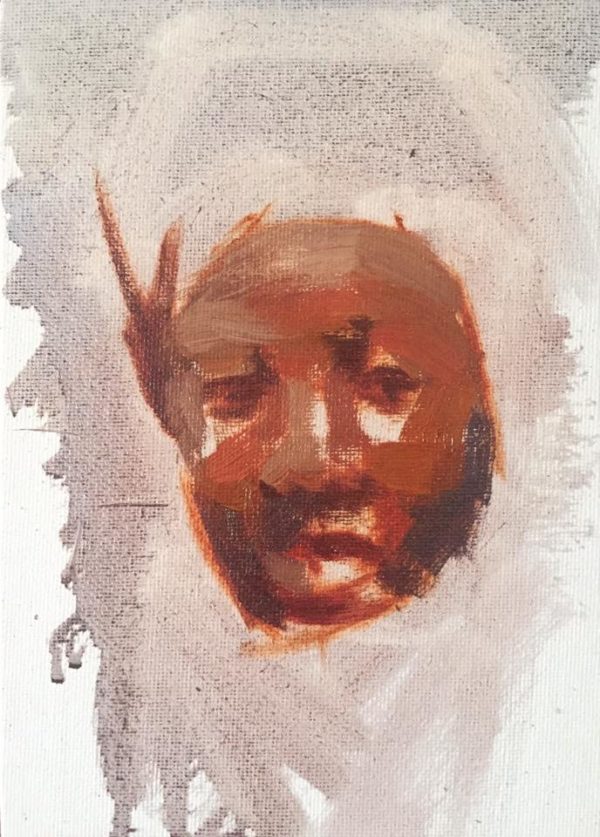
3. Very quickly I block-in the dark tones, middle tones and light tones on the face. Almost everything is covered here. My main goal here is to cover the whole face leaving very little white spaces.
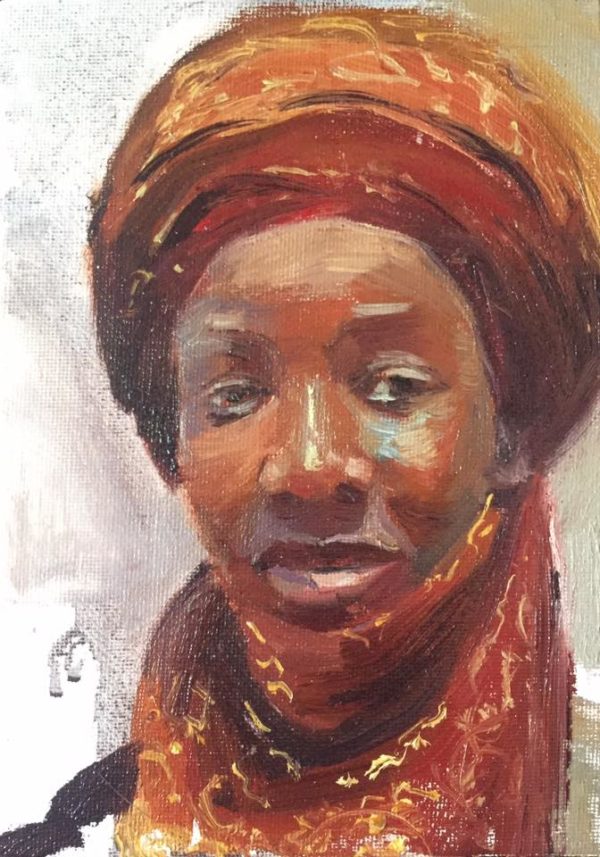
4. Here, I move to her head gear and add dark, middle and light tones on this too. A few more light tones are added to her face with some reflected light to the side of her right cheek.
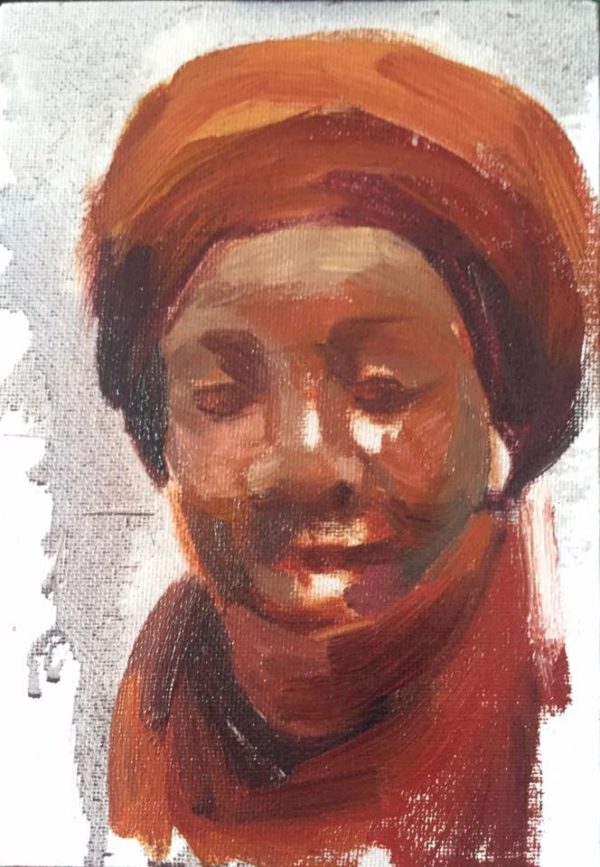
5. Now I get a bit more serious with modelling her face. Focusing on the structure and extra definition to make the main features a bit more clear.
6 At this stage I just get a bit more fiddly, making more detailed designs on her head gear and more details on her face (all over)
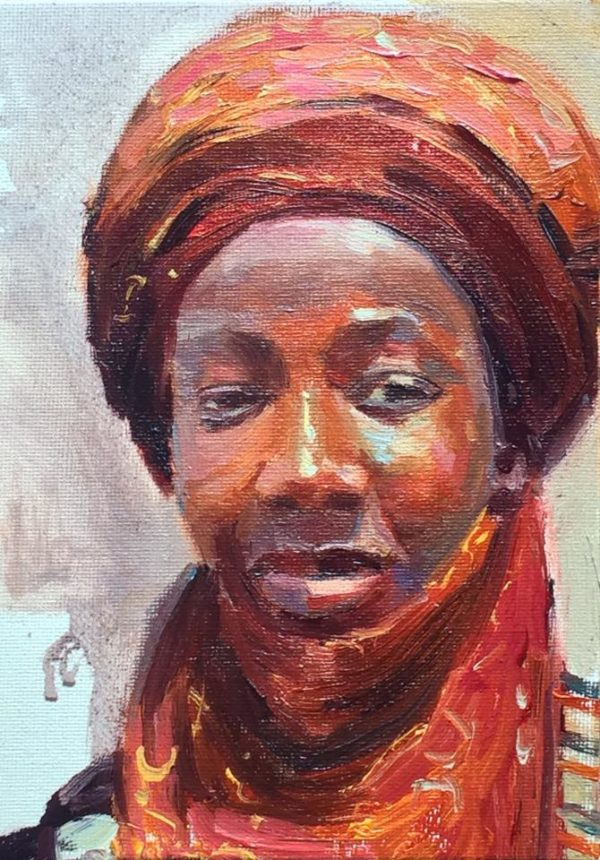
7. This is the refining stage where the little-niggly details are not overlooked but carefully added to add a spice of crispy highlights on her face and definite darks.